How to remove swirl marks from your car’s paintwork
For many car enthusiasts keeping your car’s paintwork clean and free of blemishes is a top priority. However, one of the most frustrating things about cleaning your car is when swirl marks appear. These unsightly marks can make your car look dull and unattractive, and they can be difficult to remove if you don’t have the right tools and techniques.
But how easy is it to remove swirl marks from your car? Plus, what tools, products and techniques are required to not only remove these but prevent them from happening?
The experts at Autobrite Direct have the expertise to achieve a flawless finish every time…
Why do swirl marks appear on your car?
A commonly asked question is, what exactly are swirl marks on a car? Swirl marks are very fine scratches that appear on the surface of your car’s paint. They are caused by several factors and reasons. These include improper washing techniques, the use of abrasive materials, and exposure to environmental elements like dirt, sand, and dust.
Over time, if not removed and corrected, the scratches can accumulate. Eventually creating a hazy or cloudy appearance on your car’s paint.
How difficult is it to remove swirl marks?
The good news is that removing swirl marks is not a difficult or time-consuming task. With the right tools and techniques, you can restore your car’s paint to its original shine and clarity.
Steps to removing swirl marks on your car
-
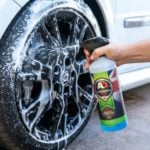
Wash your car thoroughly.
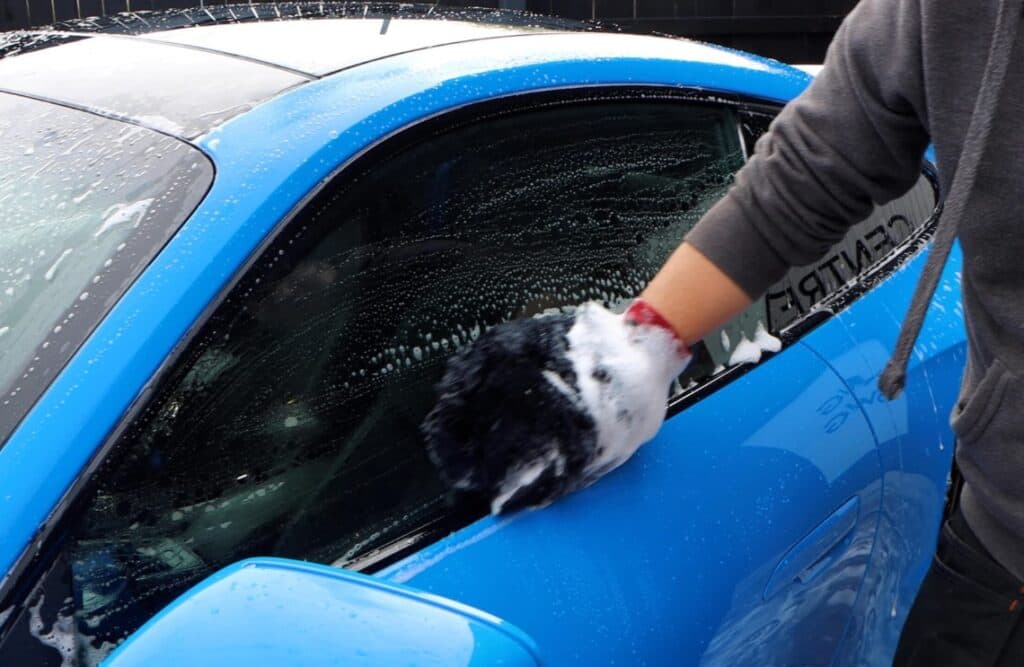
Before you can begin to even remove the swirl marks, you need to start with a completely clean surface. Following the initial steps of our 6 steps of detailing will ensure a clean surface. This could include starting by cleaning your car’s wheels and tyres. Then moving on to using snow foam in the pre-wash stage. Finally, finish the wash stage by using an Autobrite Direct shampoo such as purple velvet or Decon shampoo. Once you have completed these steps, and washed off all of the soap residues, then you will have a clean surface before moving on to the next step.
-
Inspect your car’s paintwork
Once your car is clean, inspect the surface for any bonded contaminants. You can do this by running your hand over the paint and feeling for any roughness or texture.
-
Use a clay bar
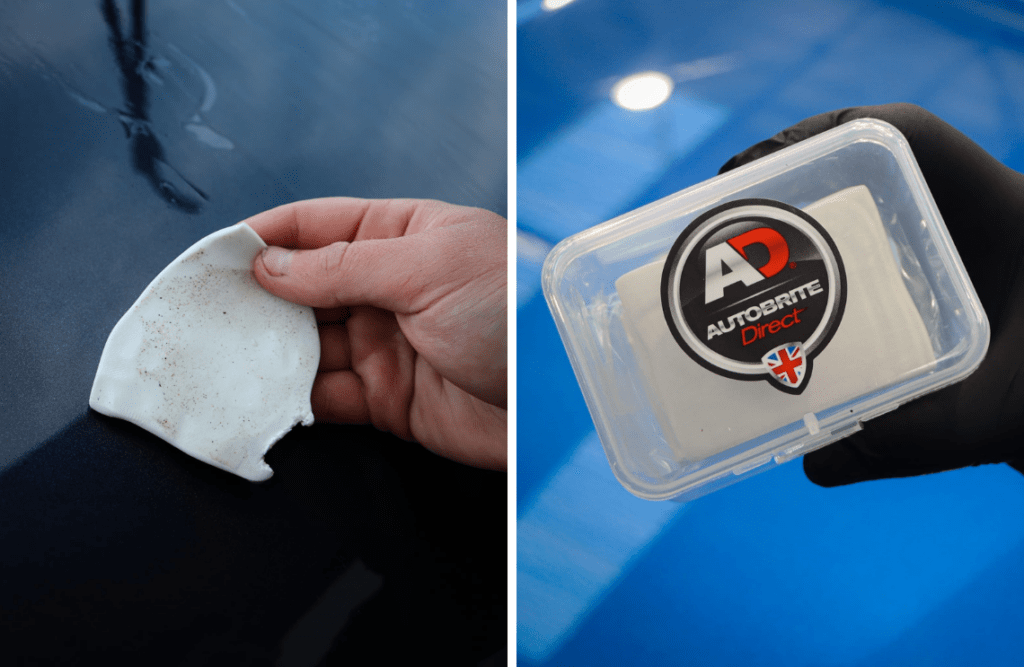
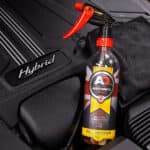
To ensure optimal performance, it is essential to clean your vehicle’s surface from any tar spots before use. Just the Tonic is an effective cleaning solution for this task.
If you do find specific areas of roughness or texture on your car’s paintwork, a clay bar is a great product to use. At AD, we have a fine-grade clay bar and a heavy-grade clay bar. The fine grade is best for use on lighter ingrained dirt, fallout and brake dust. Whereas the heavy-grade clay bar is better for use on heavier ingrained industrial fallout.
The clay will pick up any dirt or debris that is embedded in the paint, leaving a smooth surface behind. Each will leave a smooth surface, ready for the polishing stage.
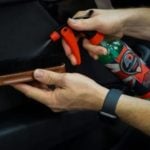
To begin, tear off a small piece of clay and flatten it in your hand until it is approximately 50 mm in size (equivalent to two 10p coins placed next to each other). Spritz the Quickshine QD onto a 30cm x 30cm area.
Next, apply light pressure and work the clay piece back and forth over the sprayed area while occasionally using Quick Shine to ensure even lubrication. You may encounter resistance, which is caused by contaminants adhering to your car’s paintwork.
As you continue to work the clay into the panel, the surface will become smoother, and the contaminants will become visible on the clay piece. Once one side of the clay has been used, flip it over and use the other side. After using the clay on all surfaces of your car, we recommend washing it again to remove any residual contaminants and clay lube.
You can also use the Autobrite Direct detailing light to examine the surface for any visible scratches or marks. This will highlight specific areas which are affected, or that need extra attention.
-
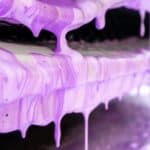
Apply a polish
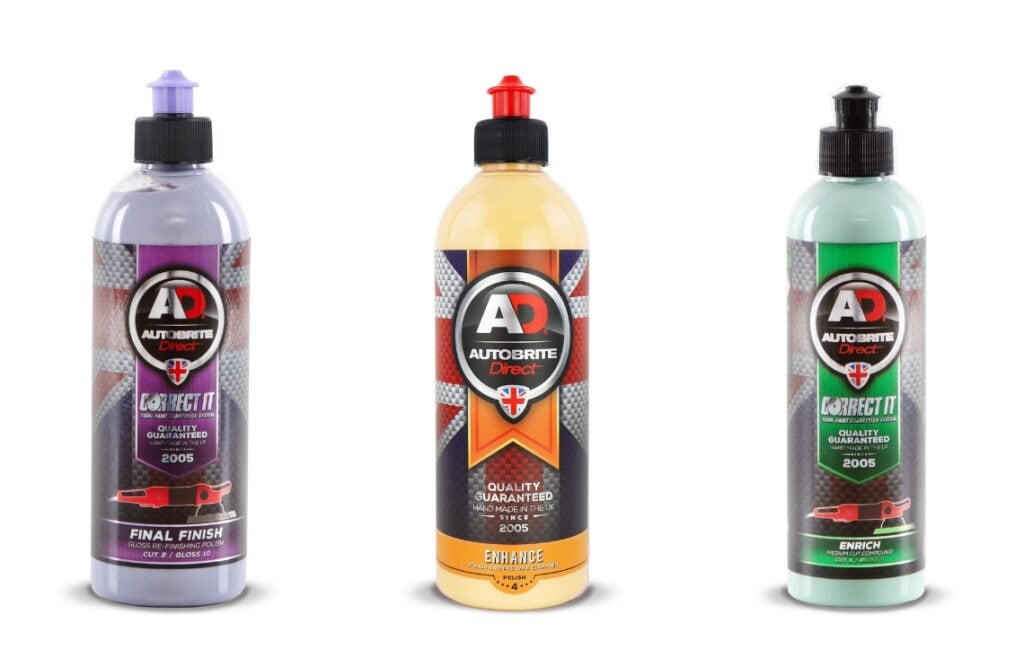
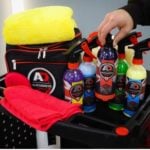
Now it’s time to tackle the swirl marks. Autobrite supplies a range of polishing products for your car. Each is highly effective for removing swirl marks, and restoring and revitalising your car’s paintwork to its original shine.
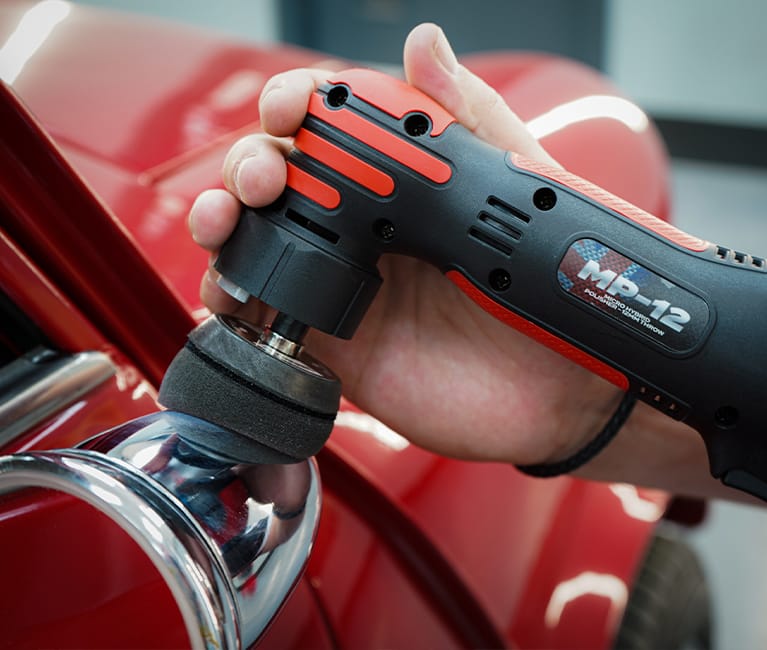
Simply apply a small amount of the polish to either a hand buffing pad or a machine polisher pad and begin working it into the surface of your car. Either using circular motions with a hand applicator or slowly moving the machine polisher back and forth whilst the machine completes the circular motions.
-
Buff and polish the product
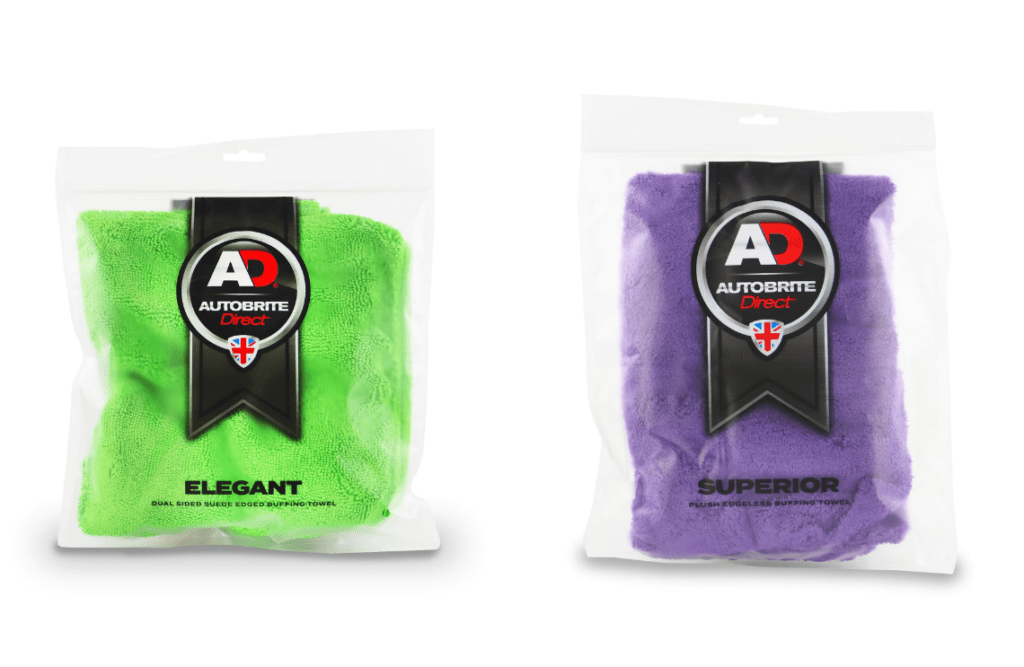
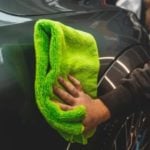
Once you’ve applied the polish, it’s time to buff and polish the surface of your car. Autobrite Direct’s Ultra Soft Microfibre Buffing Towels are perfect for this step. Simply use a clean microfibre towel to buff the surface of your car in a circular motion, applying light pressure. This will remove any remaining swirl marks and give your car a beautiful, polished finish.
-
Protect your car’s paintwork against further swirl marks
To prevent future swirl marks from appearing on your car’s paint, it’s important to protect the surface with a high-quality wax or sealant. We have a range of hard waxes, spray waxes and Sealants which can be used at this stage. Follow the instructions on your chosen product to provide a durable layer of protection.